Laravel simple role-based authentication
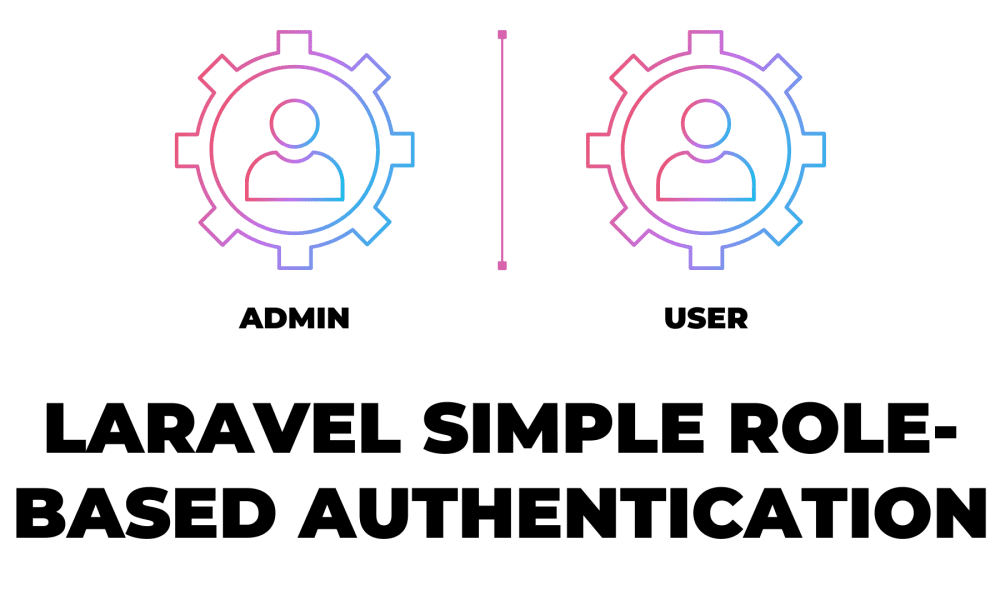
In this tutorial, we will learn Laravel’s simple role-based authentication. Laravel role-based authentication use roles to determine what a user can and cannot do in your application. We will learn Laravel middleware for auth admin users example. for example, If the authentication user is a user then we didn’t get any admin access to the admin pages. You can easily add single roles and multiple roles to users in your Laravel applications.
Laravel Middleware filters HTTP requests entering your application. And auth middleware that verifies the user of your application is authenticated? if the user is not an admin, then middleware will redirect the user back to the dashboard or whatever we set redirect page. And if the user is Admin, then the middleware will allow the request to proceed further into the application.
This tutorial gives you a step-by-step and easy way to create Laravel middleware examples for Auth Admin Users from the beginning and how to use middleware in the Laravel application or how to call Laravel middleware in the controller. So don’t waste time, let’s start with Laravel simple role-base authenticated.
simple role-based authentication
Follow the steps to create Laravel simple role-based authenticated application:
Also read: How to login with username or email in Laravel authentication
Step 1: Install Laravel Application
Step 2: Add Database connection
Step 3: Add column users table and run migration
Step 4: Create Laravel Authentication
Step 5: Create Middleware
Step 6: Add Middleware Route
Step 7: Create & update home and products blade files
Step 8: Update DashboardController
Step 9: Create a Dummy Data
Step 1: Install Laravel Application
First, install Laravel 9 using Composer.
composer create-project --prefer-dist laravel/laravel role-basedAnd Go inside the application:
cd role-basedStep 2: Add Database connection
now, open the .env file, and add the following database-related changes.
#.env

DB_CONNECTION=mysql
DB_HOST=127.0.0.1
DB_PORT=3306
DB_DATABASE=role_based
DB_USERNAME=root
DB_PASSWORD=
Step 3: Add column users table and run migration
Open users table migration and add the is_admin field.
Also read: How to add a new column to an existing table in Laravel
<?php
#database\migrations\2014_10_12_000000_create_users_table.php

use Illuminate\Support\Facades\Schema;
use Illuminate\Database\Schema\Blueprint;
use Illuminate\Database\Migrations\Migration;

class CreateUsersTable extends Migration
{
    /**
     * Run the migrations.
     *
     * @return void
     */
    public function up()
    {
        Schema::create('users', function (Blueprint $table) {
            $table->bigIncrements('id');
            $table->string('name');
            $table->string('email')->unique();
            $table->timestamp('email_verified_at')->nullable();
            $table->string('password');
            $table->boolean('is_admin')->nullable()->comment('1 - Admin'); //added
            $table->rememberToken();
            $table->timestamps();
        });
    }

    /**
     * Reverse the migrations.
     *
     * @return void
     */
    public function down()
    {
        Schema::dropIfExists('users');
    }
}
After adding the column, now run the below command.
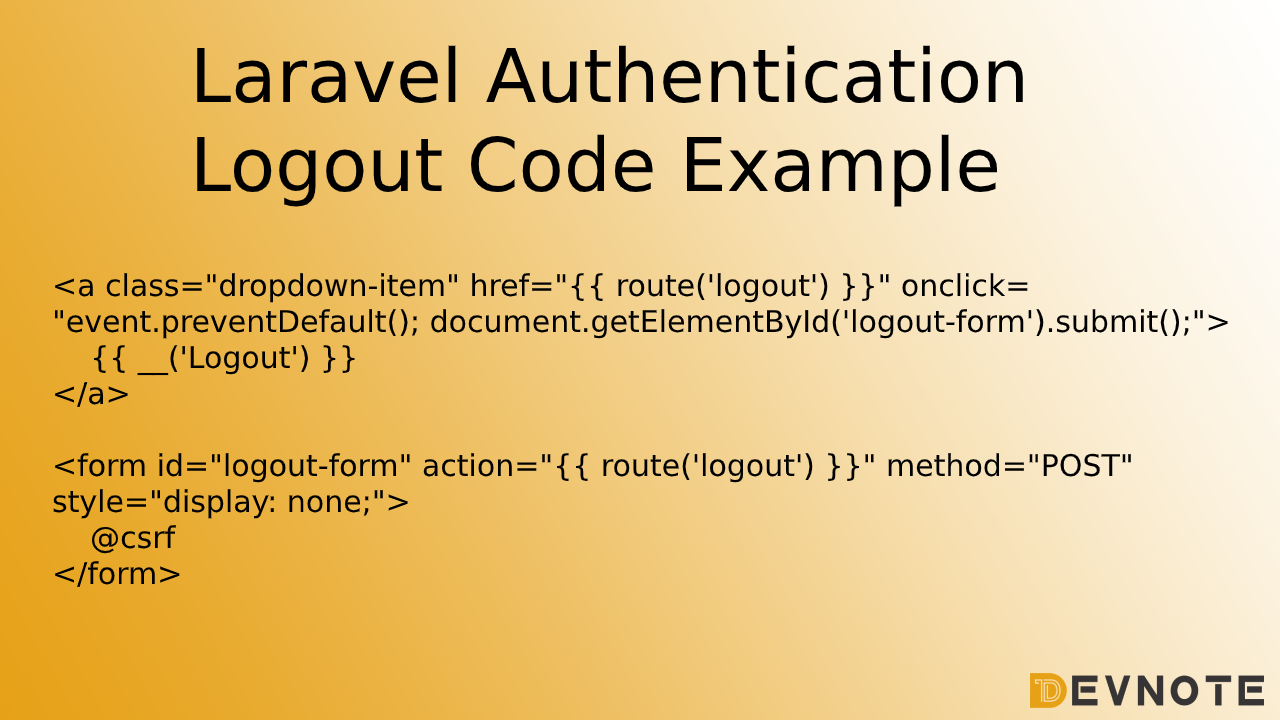
php artisan migrateAlso read: Laravel Authentication Logout Code Example
Step 4: Create Laravel Authentication
Read this tutorial: Laravel authentication example
Step 5: Create Middleware
Now Create a middleware to handle auth admin roles.
php artisan make:middleware IsAdminNow open IsAdmin.php the file in your project middleware directory.
<?php
#app\Http\Middleware\IsAdmin.php

namespace App\Http\Middleware;

use Closure;
use Auth;

class IsAdmin
{
    /**
     * Handle an incoming request.
     *
     * @param  \Illuminate\Http\Request  $request
     * @param  \Closure  $next
     * @return mixed
     */
    public function handle($request, Closure $next)
    {
        if (Auth::user() &&  Auth::user()->is_admin == 1) {
            return $next($request);
        }

        return redirect('home')->with('error','You have not admin access');
    }
}
And open kernel.php the file and go to the protected $routeMiddleware property and update the admin middleware.
    #app\Http\Kernel.php
    /**
     * The application's route middleware.
     *
     * These middleware may be assigned to groups or used individually.
     *
     * @var array
     */
    protected $routeMiddleware = [
        'auth' => \App\Http\Middleware\Authenticate::class,
        'auth.basic' => \Illuminate\Auth\Middleware\AuthenticateWithBasicAuth::class,
        'cache.headers' => \Illuminate\Http\Middleware\SetCacheHeaders::class,
        'can' => \Illuminate\Auth\Middleware\Authorize::class,
        'guest' => \App\Http\Middleware\RedirectIfAuthenticated::class,
        'password.confirm' => \Illuminate\Auth\Middleware\RequirePassword::class,
        'signed' => \Illuminate\Routing\Middleware\ValidateSignature::class,
        'throttle' => \Illuminate\Routing\Middleware\ThrottleRequests::class,
        'verified' => \Illuminate\Auth\Middleware\EnsureEmailIsVerified::class,
        'admin' => \App\Http\Middleware\IsAdmin::class, //added
    ];
Step 6: Add Middleware Route
Now we will create one route, which protected the admin, and if the user is not an admin, then it will redirect to the home page. otherwise, he can access this page.
<?php
#app/routes/web.php

use Illuminate\Support\Facades\Route;
use App\Http\Controllers\DashboardController;

Route::get('/', function () {
    return view('welcome');
});

Auth::routes();

Route::get('home', [DashboardController::class, 'index'])->name('home');
Route::group(['middleware' => ['admin']], function () {
   Route::get('product', [DashboardController::class, 'products'])->name('product.index');
});
Step 7: Create & update home and products blade files
Edit the home.blade.php file which is open after the user login.
resources\views\home.blade.php
@extends('layouts.app')

@section('content')
<div class="container">
    <div class="row justify-content-center">
        <div class="col-md-8">
            <div class="card">
                <div class="card-header">Dashboard</div>

                <div class="card-body">
                    @if (session('error'))
                        <div class="alert alert-danger">
                            {{ session('error') }}
                        </div>
                    @endif
                    @if (session('status'))
                        <div class="alert alert-success" role="alert">
                            {{ session('status') }}
                        </div>
                    @endif

                    You are logged in!
                </div>
                <div class="card-body">
                    <div class="panel-body">
                      Check product tab: <a href="{{route('product.index')}}">Products</a>
                    </div>
                </div>
            </div>
        </div>
    </div>
</div>
@endsection
Create a new blade file, if the user is admin then access this page.
resources\views\products\index.blade.php
@extends('layouts.app')

@section('content')
<div class="main-content">
    <div class="container-fluid">
        <h3 class="page-title">{{__('Products')}}</h3>
        <div class="row">
            <div class="panel">
                <div class="panel-body">
                    @include('layouts.message')
                    <div class="col-md-12">
                        <div class="table-responsive">
                            <table class="table table-striped table-bordered nowrap" id="table" cellspacing="0" width="100%">
                                <thead>
                                    <tr>
                                        <th>Name</th>
                                        <th>Image</th>
                                        <th>Action</th>
                                    </tr>
                                </thead>
                                <tbody>
                                    @foreach($products as $key=>$values)
                                        <tr>
                                            <td>{{ $values->name }}</td>
                                            <td><img src="{{ asset('public/storage/products/'.$values->image) }}" width="70px"></td>
                                            <td>
                                                <a href="{{ route('products.edit', $values->id) }}"><span class='btn btn-sm btn-info'> Edit</span></a>
                                                <div style="height: 5px;"></div>
                                                <form action="{{ route('products.destroy', $values->id) }}" method="POST">
                                                    @csrf
                                                    @method('DELETE')
                                                    <button type="submit" onclick="return confirm('Do you really want to delete products!')" class="btn btn-sm btn-danger">Delete</button>
                                                </form>
                                            </td>
                                        </tr>
                                    @endforeach
                                </tbody>
                            </table>
                            {{ $products->links() }}
                        </div>
                    </div>
                </div>
            </div>
        </div>
    </div>
</div>
@endsection
Step 8: Update DashboardController
Now add a method in DashboardController, if a user is an admin then the products function work.
<?php
#app\Http\Controllers\Admin\DashboardController.php

namespace App\Http\Controllers;

use Illuminate\Http\Request;
use App\Models\Product;

class DashboardController extends Controller
{
    public function __construct()
    {
        $this->middleware('auth');
    }

    public function index()
    {
        return view('home');
    }

    public function products()
    {
        $products = Product::latest()->paginate(10);
        return view('products.index', compact('products'));
    }
}
And You can also add multiple middlewares with the group routes in Laravel just check the below code.
Route::group(['middleware' => ['auth', 'admin']], function () {
    Route::get('product', [DashboardController::class, 'products'])->name('product.index');
});
Step 9: Create a Dummy Data
Now create Dummy data using Laravel seeder and add some data in your user’s table. Create the seeder just by running the below command:
php artisan make:seeder UsersSeederNow open UsersSeeder.php file inside database/seeds folder.
Also read: Difference Between Factory And Seeders In Laravel
<?php
#database/seeds/UsersSeeder.php

use Illuminate\Database\Seeder;
use App\User; class UsersSeeder extends Seeder {
    /**
    * Run the database seeds.
    *
    * @return void */

    public function run() {
        User::truncate();
        $users = [
            [
                'name' => 'Admin',
                'email' => 'admin@gmail.com',
                'password' => '12345689',
                'is_admin' => '1',
            ],
            [
                'name' => 'Normal',
                'email' => 'normal@gmail.com',
                'password' => '45678912',
                'is_admin' => null,
            ]
        ];

        foreach($users as $user) {
            User::create([
                'name' => $user['name'],
                'email' => $user['email'],
                'password' => Hash::make($user['password']),
                'is_admin' => $user['is_admin'],
            ]);
        }

    }
}
Now run seeder using the below command:
php artisan db:seed --class=UsersSeederNow you can check admin@gmail.com or normal@gmail.com. If you are login in using admin@gmail.com then you can access the product view and if you are login in using normal@gmail.com then you couldn’t access the products view section.

