How to Install Django | Basic Configuration
In this tutorial, we will read How to Install Django | Basic Configuration. Here is the perfect guide to Install Django with step by step process.
Install Python
#Installing Python on Windows
Python is a web framework, Django is required Python. You will need to go to http://www.python.org/download/ and download the latest version. Next, double-click the .exe file and follow the installation instructions.
Now, the installation has been done.
Right-click on My Computer on the desktop.
Click on Advanced System Settings.
Next, click on the Environmental Variable. and see the below screenshot:

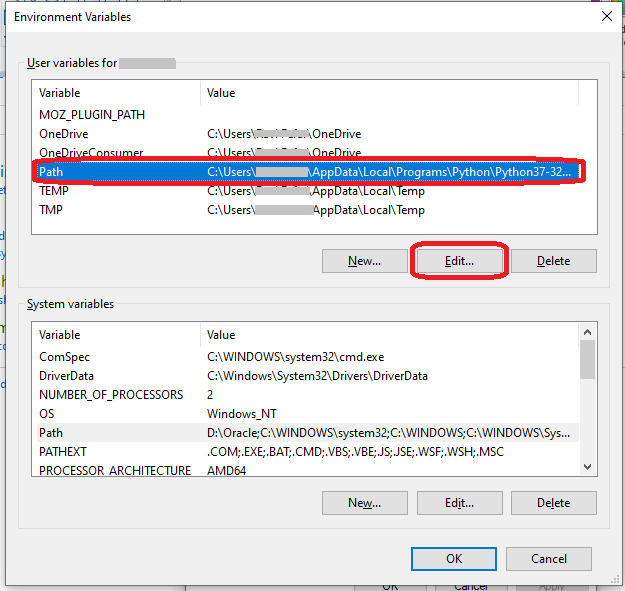
Add or update the PATH variable. If it does not exist, create the PATH variable and set its value as C:\Python33\Scripts. If it exists, append ;C:\Python33\Scripts to the existing value.
Now check python is install.
$ python

Python 3.6.9 (default, Nov  7 2019, 10:44:02)
...
>>>
#Django project architecture
Django provides a complete API and web application, including the database. you can install pip.
$ pip install Django#Create a Project
We can create a new web project using django-admin. You can type this command:
$ django-admin startproject mysitemysite folder structure :
mysite/
    manage.py
    mysite/
        __init__.py
        settings.py
        urls.py
        asgi.py
        wsgi.py
#Setting Your Project
Your project set up in the subfolder mysite/settings.py.
#mysite/settings.py

DEBUG = True
This option set if your project is debug mode or not.
Database dictionary.
#mysite/settings.py

DATABASES = {
	'default': {
	'ENGINE': 'django.db.backends.sqlite3',
	'NAME': 'database.sql',
	'USER': '',
	'PASSWORD': '',
	'HOST': '',
	'PORT': '',
	}
}
Django supports databases like:
MySQL (django.db.backends.mysql)
PostGreSQL (django.db.backends.postgresql_psycopg2)
Oracle (django.db.backends.oracle) and NoSQL DB
MongoDB (django_mongodb_engine)
And other setup options like: TIME_ZONE, LANGUAGE_CODE, TEMPLATE, etc…
#Create an Application
Now create Application:
$ python manage.py startapp myappNow register our Django project mysite. update INSTALLED_APPS in the settings.py file is your project :
#mysite/settings.py

INSTALLED_APPS = (
	'django.contrib.admin',
	'django.contrib.auth',
	'django.contrib.contenttypes',
	'django.contrib.sessions',
	'django.contrib.messages',
	'django.contrib.staticfiles',
	'myapp', #added
)
You have to install Django already. Django has installed and which the current version is running.
$ python -m django --versionAnd you can use python version 3.0 , you can use python3.
$ python3 manage.py runserver 8080#Creating a Database
Django in-build includes several applications., user management, authentication, etc… , Now to run our migrations.
$ python manage.py makemigrations myapp$ python manage.py migrateIf you can change the models (in models.py).
$ python manage.py makemigrations myapp #to create migrations for those changes
$ cd mysite/$ python manage.py runserver
...
Starting development server at http://127.0.0.1:8000/
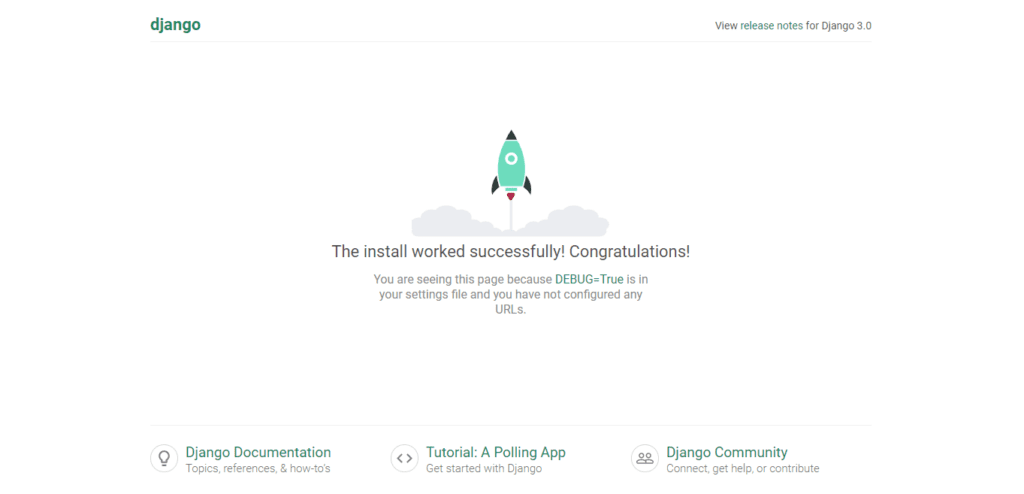
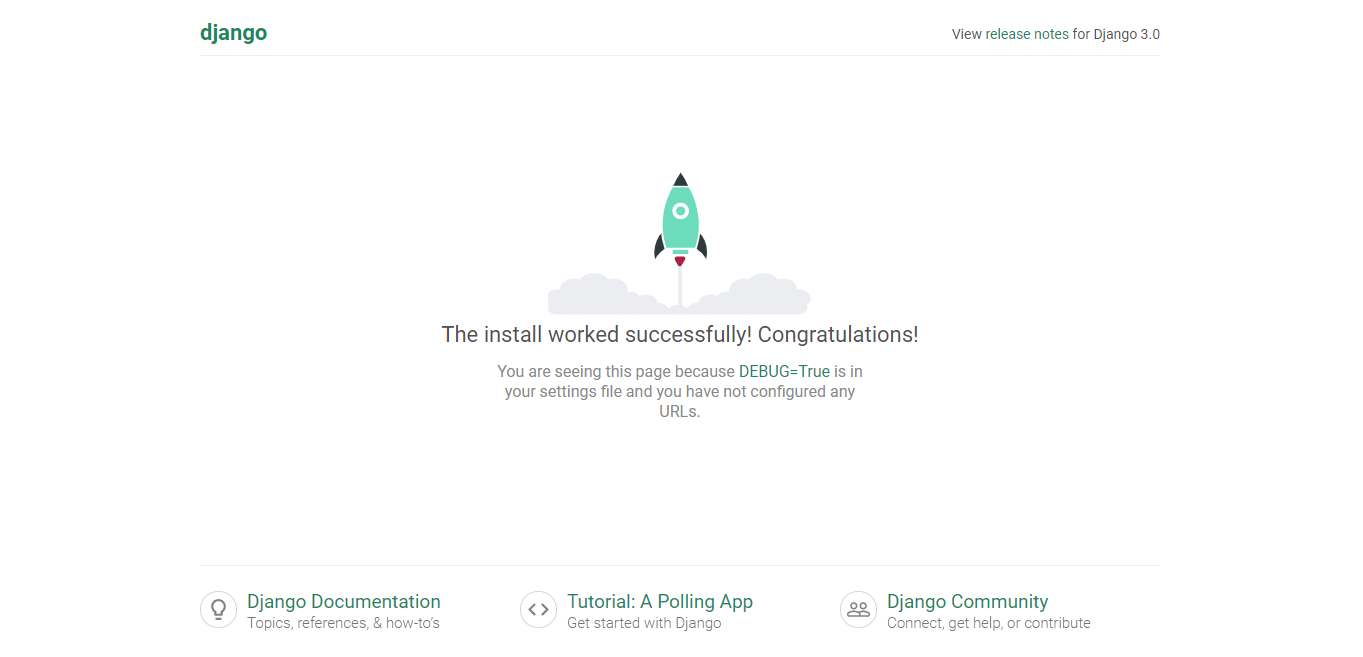
Quit the server with CONTROL-C.By default, Django runs on port 8000. now you can open a browser and navigate to http://localhost:8000.
#Changing the port
You can change the server’s port, show bellow command.
$ python manage.py runserver 8080This command starts the server on port 8080:
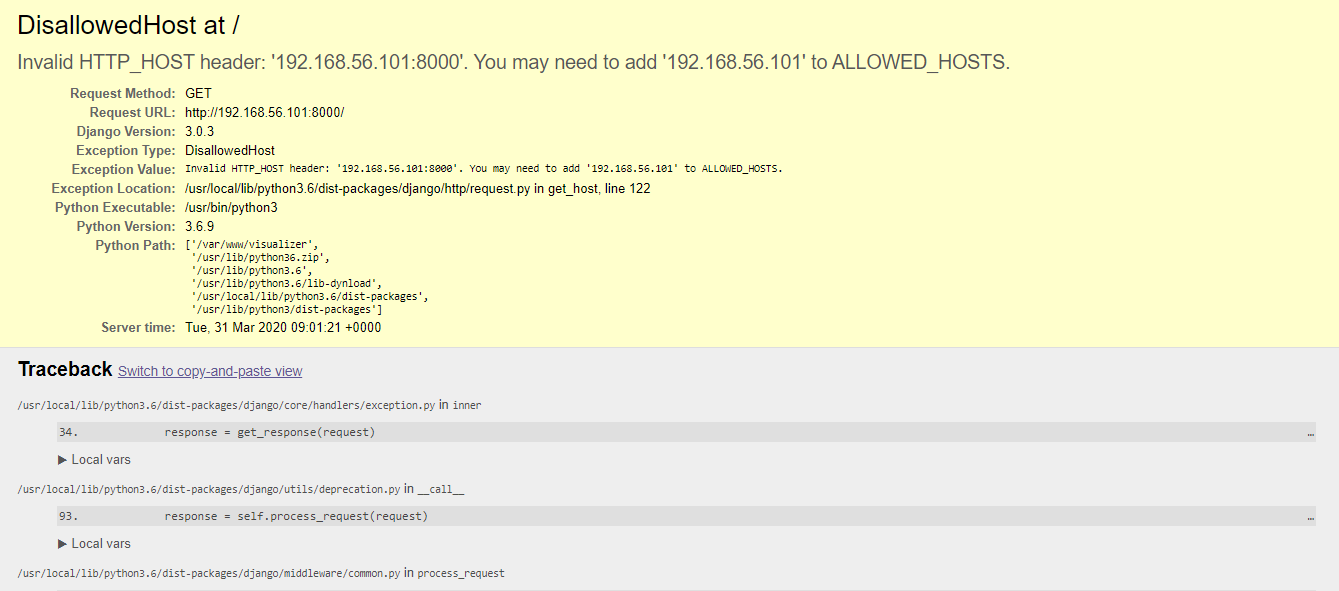
Also Read : Django Invalid HTTP_HOST Header | ALLOWED_HOSTS
#Creating an admin user
Create new user. run the bellow command :
$ python manage.py createsuperuserEnter your desired username and press enter :
Username: admin
Enter your desired email address :
Email address: info@devnote.com
And enter your password.
Password: ***********
Password (again): ***********
Superuser created successfully.
$ python manage.py runserverhttp://127.0.0.1:8000/admin/
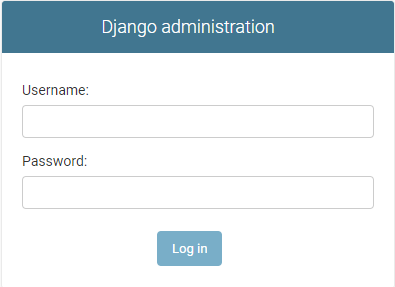
Installation done. e.g : http://127.0.0.1:8000
