How to image upload in CKEditor using Laravel?
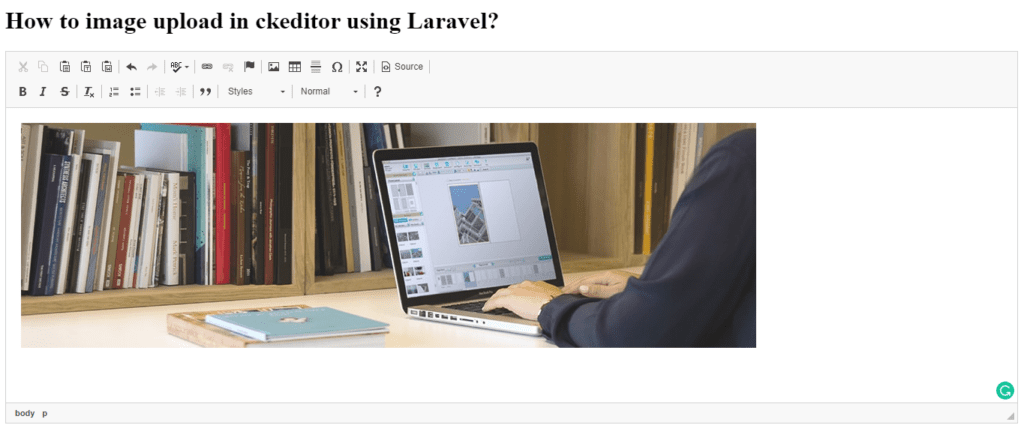
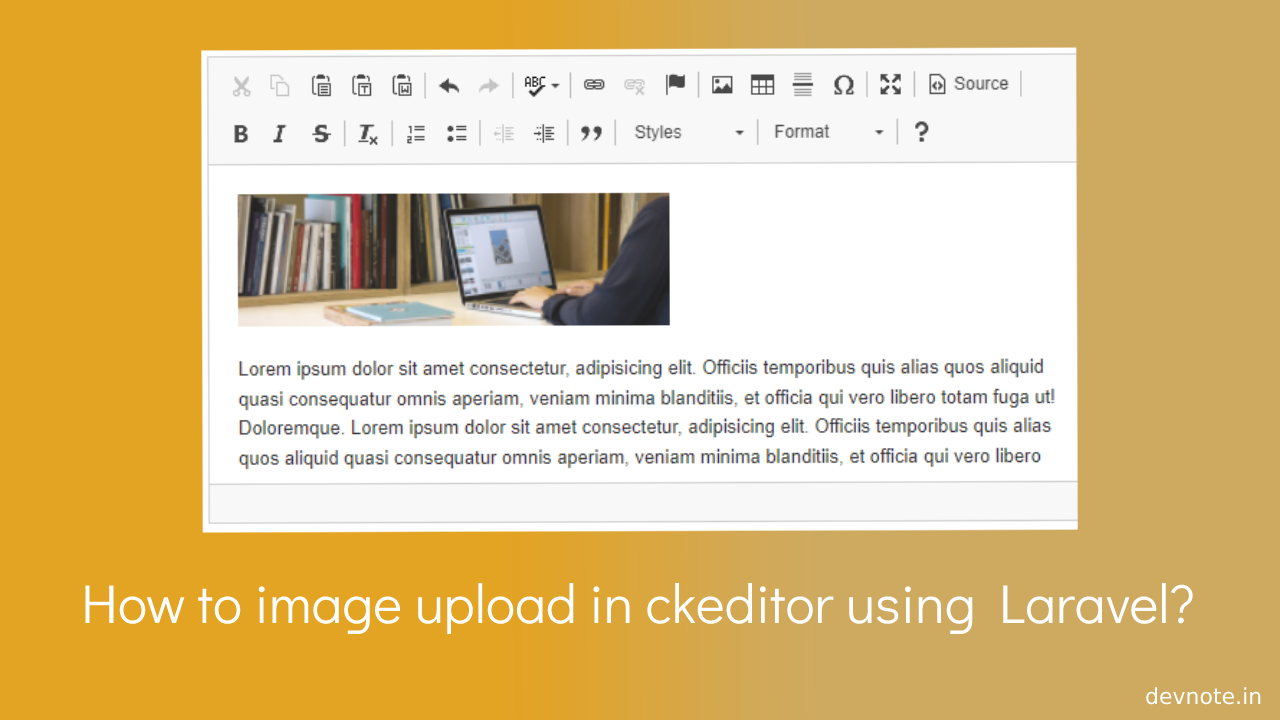
Today we will learn How to image upload in CKEditor using Laravel. Ckeditor is the most powerful tool for content editors. And by default upload image option is also available then it is awesome. In this tutorial, I would like to share with you the filebrowserUploadUrl method with Laravel. we will cover in this tutorial, in detail how to install CKEditor in Laravel. You can see a display of image uploads in CKEditor with Laravel.
We use the filebrowserUploadUrl and filebrowserUploadMethod functions of default CKEditor provides with Laravel. so in this tutorial, you have to try to upload an image in CKEditor and it will not work, then I will give you an example of how to upload an image using CKEditor in Laravel.
I will give you a simple example of image uploading with Laravel step by step. so you can easily use it in your Laravel application.
Also read: How to add CKEditor required field validation in Jquery
Step 1: Create Controller
We will create a new controller as HomeController with two methods index() and upload(). First, the index() method in the display view file and the upload() method in writing a code for image uploading.
<?php
#app/Http/Controllers/HomeController.php

namespace App\Http\Controllers;
use Illuminate\Http\Request;

class HomeController extends Controller {

    public function index() {
        return view('index');
    }

    public function upload(Request $request) {
        if($request->hasFile('upload')) {
            $upload_file = $request->file('upload');
            $file_name = time().'_'.$upload_file->getClientOriginalName();

            // Upload file in folder
            $upload_file->storeAs('public/ckeditor/',$file_name);

            $ckeditor_func_num = $request->input('CKEditorFuncNum');
            $image_url = asset('storage/ckeditor/'.$file_name);
            $message = 'Image uploaded successfully!';

            $response = "<script>window.parent.CKEDITOR.tools.callFunction($ckeditor_func_num, '$image_url', '$message')</script>";
            @header('Content-type: text/html; charset=utf-8');
            echo $response;
        }
    }
}
Step 2: Add Routes
Also read: How to use multiple textarea with CKEditor 5
We need to create two routes for displaying the CKEditor form page and the second image uploading code.
<?php
#routes/web.php

Route::get('/', [HomeController::class, 'index']);
Route::post('image/upload', [HomeController::class, 'upload'])->name('image.upload');
Step 3: Create Blade File
We need to create an index.blade.php file and put the form logic with CKEditor js code.
<!DOCTYPE html>
<html>
    <head>
        <meta charset="UTF-8">
        <meta name="viewport" content="width=device-width, initial-scale=1.0">
        <title>How to image upload in ckeditor using Laravel?</title>
        <meta content="Welcome to Devnote, We write tutorials and tips that can help other artisans. with WordPress, Laravel, PHP, Javascript, Python, Django, and Web Design." name="description">
        <meta content="Devnote, WordPress, Laravel, PHP, Javascript, Python, Django, how to laravel" name="keywords">
        <meta name="author" content="Dhaval Patel">
        <script src="https://cdn.ckeditor.com/4.12.1/standard/ckeditor.js"></script>
</head>
<body>
    <h1>How to image upload in ckeditor using Laravel?</h1>
    <textarea name="ckeditor"></textarea>
    <script type="text/javascript">
        CKEDITOR.replace('ckeditor', {
                filebrowserUploadUrl: "{{ route('image.upload', ['_token' => csrf_token() ]) }}",
            filebrowserUploadMethod: 'form'
        });
    </script>
</body>
</html>
Step 4: Create CKEditor folder
In the last step, we can create a CKEditor folder inside the public directory. and also create with permission.
Also read: How to use CKEditor 5 using javascript?
php artisan storage:linkExample
