How to install MySQL server on ubuntu 18.04
MySQL is an open-source database management system and it’s store relational database and SQL (Structured Query Language) to manage. mostly installed LAMP(Linux, Apache, MySQL, PHP/Perl/Python) stack.
This tutorial will explain how to install a MySQL server on ubuntu 18.04. mostly use the MySQL server and it will easily and simply install your ubuntu operating system.
Installing MySQL
Install and update the package on your server with apt :
$ sudo apt updateThis command to install the default mysql-server package:
$ sudo apt install mysql-serverNow successfully install MySQL. but it will not set a password or make other configuration. like grant permission etc.
Configuring MySQL changes
$ sudo mysql_secure_installation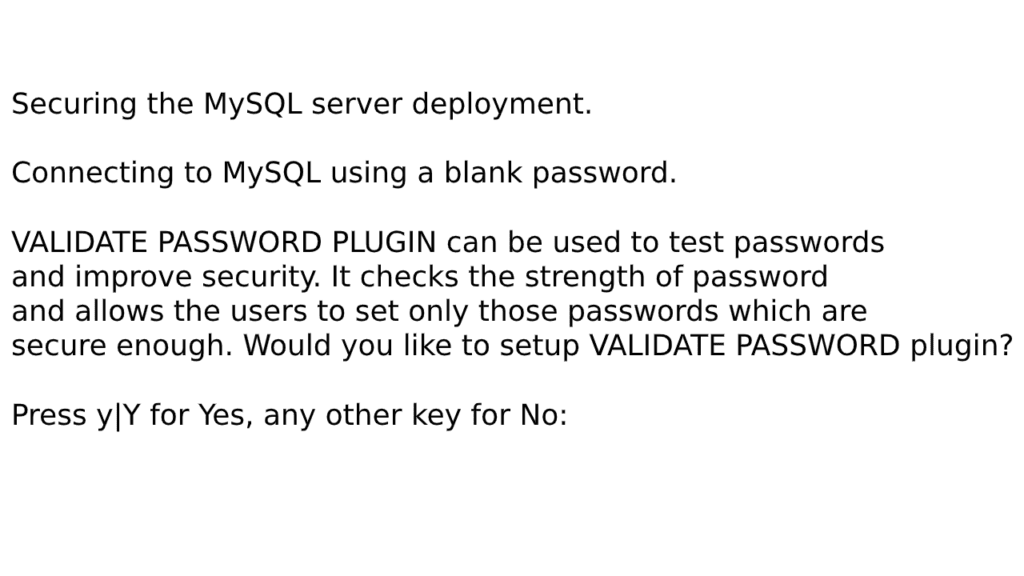
Press Y then ENTER. and you will see output like here :
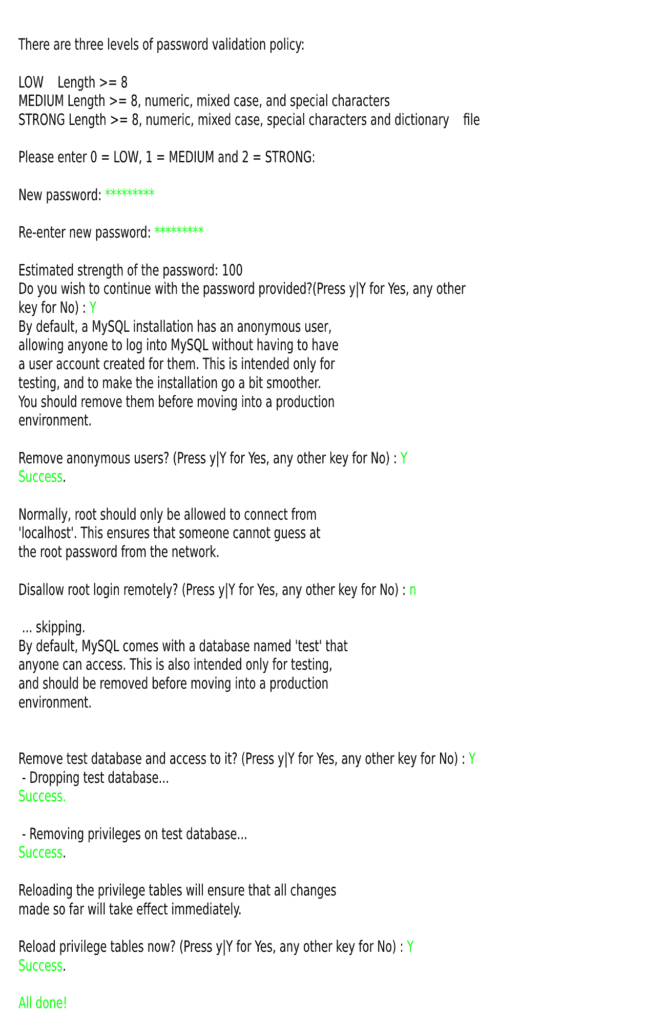
User Authentication and Privileges (options)
$ sudo mysqlNow check which authentication method for each user accounts use. and you can direct connect to database without password.
mysql > SELECT user,authentication_string,plugin,host FROM mysql.user;
The root user does in fact authenticate using the auth_socket plugin. So configure the root password, and one things you change password is strong.
mysql> ALTER USER 'root'@'localhost' IDENTIFIED WITH mysql_native_password BY 'password';Now, run bellow command :
mysql> FLUSH PRIVILEGES;FLUSH PRIVILEGES is reload the grant table and your new changes effect.
Check authentication methods :
mysql > SELECT user,authentication_string,plugin,host FROM mysql.user;
Now confirm your own server.
mysql> exit$ sudo mysqlThis command returned error like : ERROR 1045 (28000): Access denied for user 'root'@'localhost' (using password: NO)
Now run bellow command:
$ mysql -u root -pThen ENTER and enter password. Now you can use mysql.
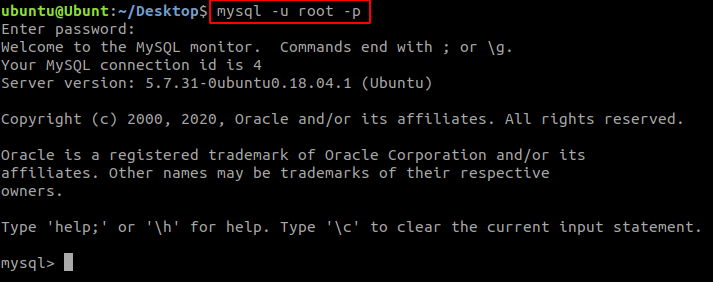
Create a new user
simple mysql in-build provided <b>CREATE USER</b> command to create user.
mysql> CREATE USER 'devnote'@'localhost' IDENTIFIED BY 'password';You could define grant the user privileges to the database in all tables, as well as the power to (add, edit, delete, and remove user privileges). you can define grant permission, following this command :
mysql> GRANT ALL PRIVILEGES ON *.* TO 'devnote'@'localhost' WITH GRANT OPTION;Grant all access to specific database (e.g. devnote):
mysql> GRANT ALL ON devnote.* TO 'devnote'@'localhost';
Now, run FLUSH PRIVILEGES is reload the grant table and your new changes effect.
mysql> FLUSH PRIVILEGES;Exit MySQL
mysql> exitFinally, test the MySQL installation Successfully or not.
Check MySQL Install
MySQL running automatically, now check its status. following command :
$ systemctl status mysql.serviceYou will see output like here :

Note: You can live server connection problem show so like bellow command use :
$ mysql -u root -p -h 196.169.16.16Here -u means username , -p means password and -h means host name (Ip address). and you can direct password enter like bellow command :
$ mysql -u root -pDevnote@12345 -h 196.169.16.16Here no space between a password and -p.


