How to install Laravel Telescope and Configure
A Complete Guide To Laravel Telescope: It is a new debugging tool for Laravel Application provides. Laravel Telescope most commonly used developer testing purpose.
This is a debug assistant for Laravel.
Telescope provides access to the requests coming into your application, exceptions, log entries, database queries, queued jobs, mail, scheduled tasks.
Table of Contents
- Installation
- Configure
- Usage of telescope
Step 1 : Install
Create larave telescope and Install.
composer require laravel/telescope=== OR ===
The production installation
composer require laravel/telescope --devlaravel telescope installation publish using laravel command telescope:install.
php artisan telescope:installPublish telescope :
php artisan migrateThis command is use telescope table create in our database.
Step 2 : Configuring
Go To config/telescope.php and edit the file.
'enabled' => env('TELESCOPE_ENABLED', false),You will find various options the telescope.
Example :
Path: Path is your main telescope dashboard.
Storage: Storage option determine which storage drive to store the telescope’s data.
Middleware: The middleware option you will set will be applied to each and every route.
Watcher: Watcher options contain the array lists of watcher which are registered with the Telescope.
Telescope available features :
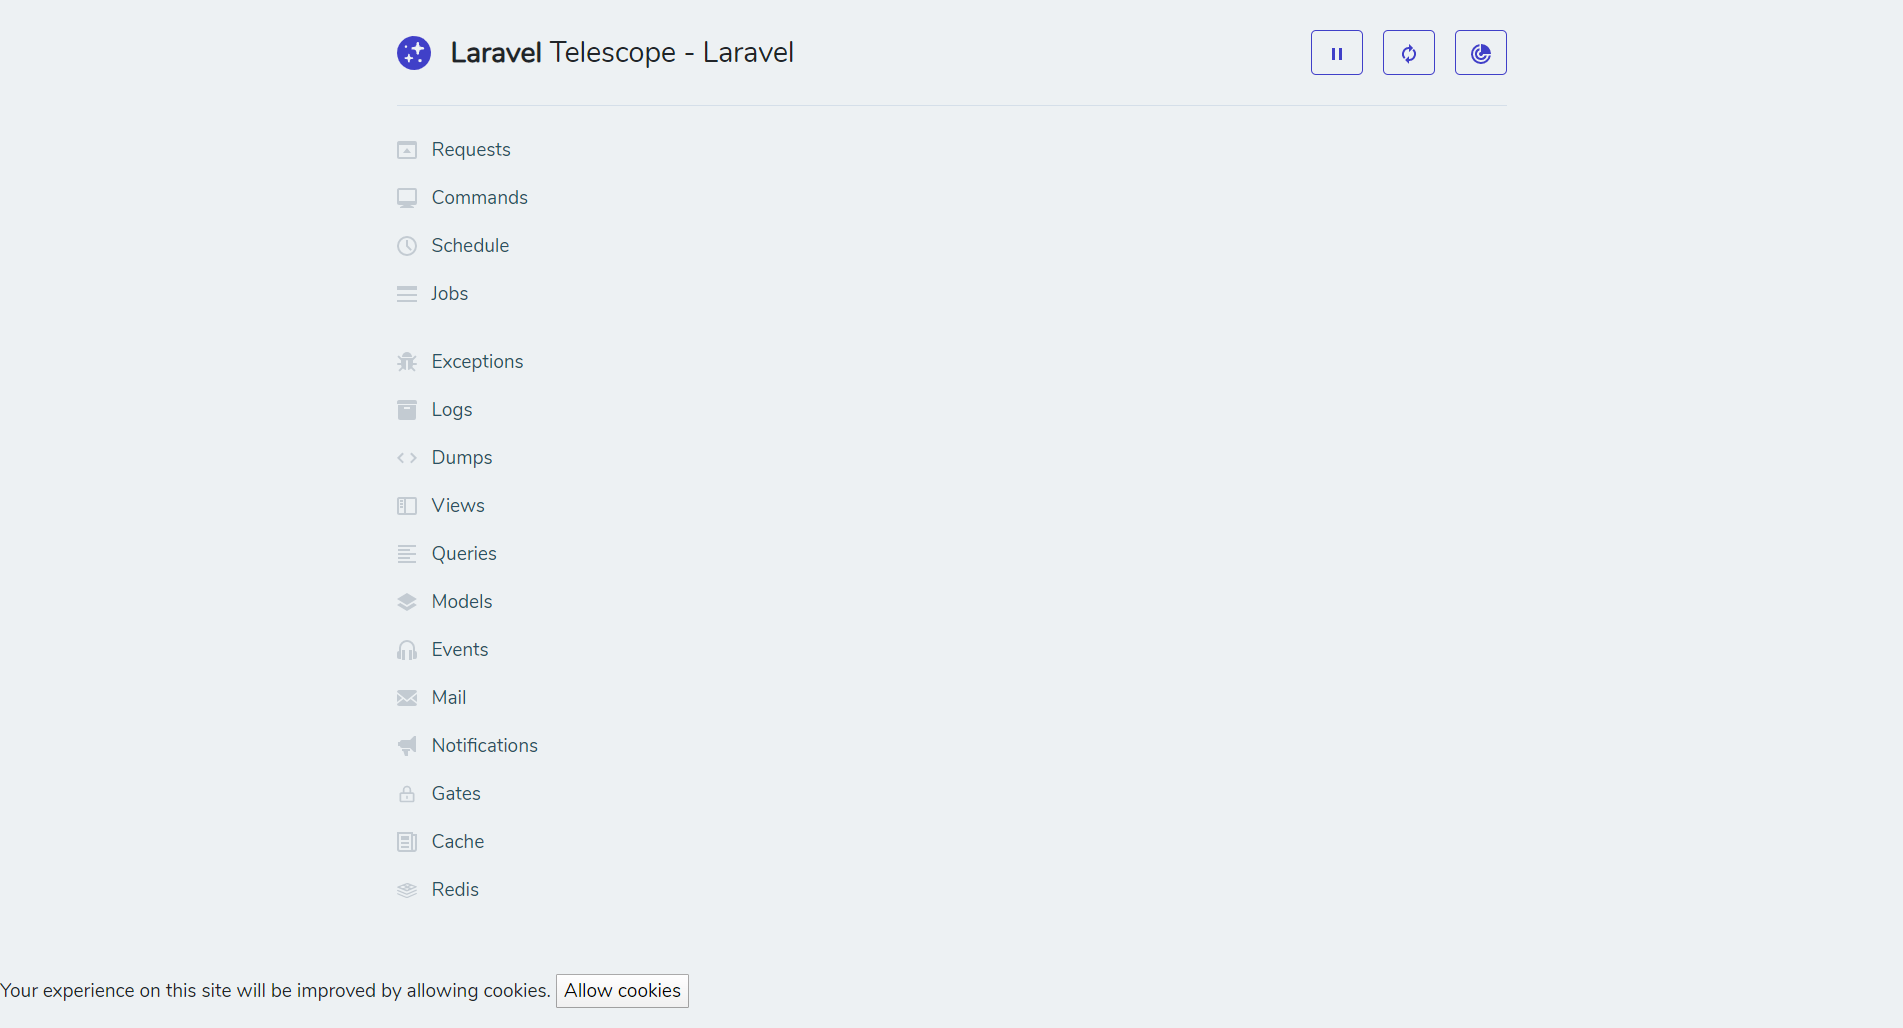
Requests Watcher
Commands Watcher
Schedule Watcher
Jobs Watcher
Exceptions Watcher
Logs Watcher
Dumps Watcher
Queries Watcher
Models Watcher
Events Watcher
Mail Watcher
Notifications Watcher
Gates Watcher
Cache Watcher
Redis Watcher
Step 3 : Use of telescope
Open your browser and append /telescope with your root domain.
Example : http://your-domain/telescope
Below Laravel Telescope dashboard demo.


